We're getting close to the
finish
line. It's time for the finish (trim) molding. This includes the
baseboard, valence (the stuff under the cabinets) and crown molding.
The
baseboard molding isn't very interesting and doesn't lend itself to
good photos so I'm leaving it out. The crown molding I'm holding off
for now. We just want to get the place cleaned up. There's still 2x4's
in the hallway, drywall behind the credenza and plywood propped up
against the fireplace. The valence molding is needed to hide the
under-cabinet lighting.
Initially
I figured that screwing the molding to the frame, from the top down,
would be the way to go. I tried a test piece and discovered that
batting .333 will get you in the major leagues it won't do for finish
carpentry. The cabinet frame is 3/4 inch thick but the molding 3/8ths.
One screw came out the back of the molding, one the front and one dead
on. Not good.
Babs suggested glue, but
I dismissed that idea out of hand. After all what does a woman know about carpentry.
I tossed around a few
more ideas and eventually called the great guru of all things
construction related: my friend Rick. His suggestion: Titebond II.
In other words: glue. Curses, the little woman was right again!
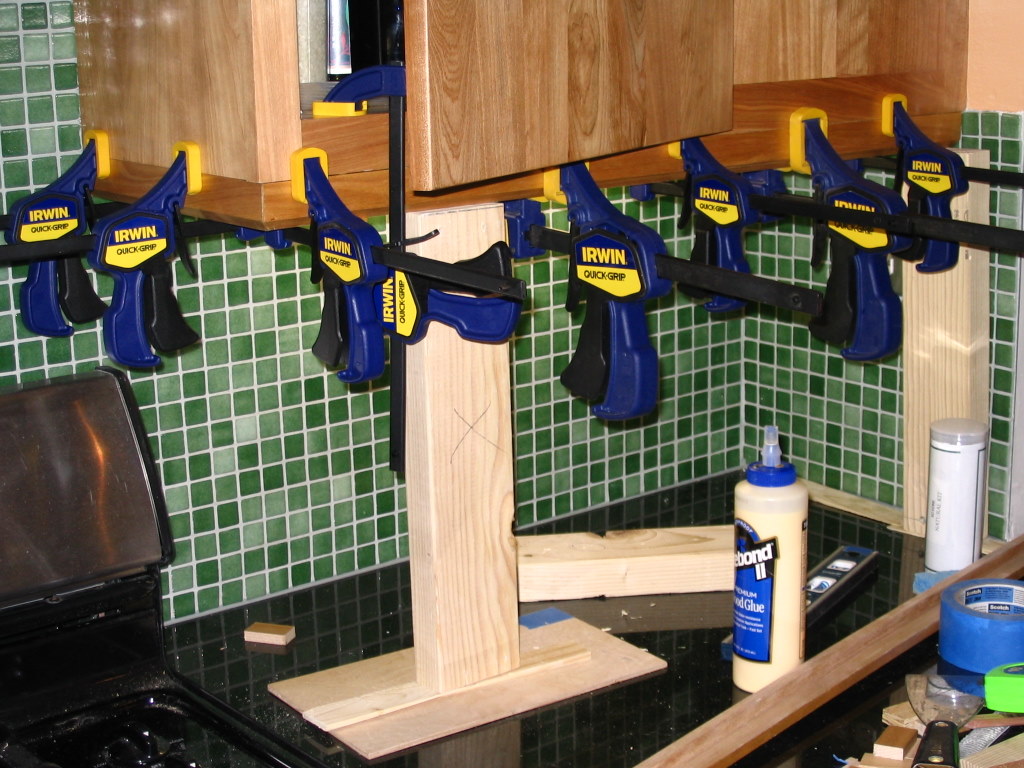
Right Side of Stove
Successful
gluing requires clamping or other means of squeezing the two items
together. As can be seen, I have no shortage of clamps.
What
you see above is the second go-around. The first time I took the clamps
and 2x4's off after about 2 hours (the setting time for the glue is 30
minutes). Within seconds there's a loud crack and everything falls to
the countertop.
I scrape off the
semi-hardened glue and try again, this time leaving it alone for 24
hours.

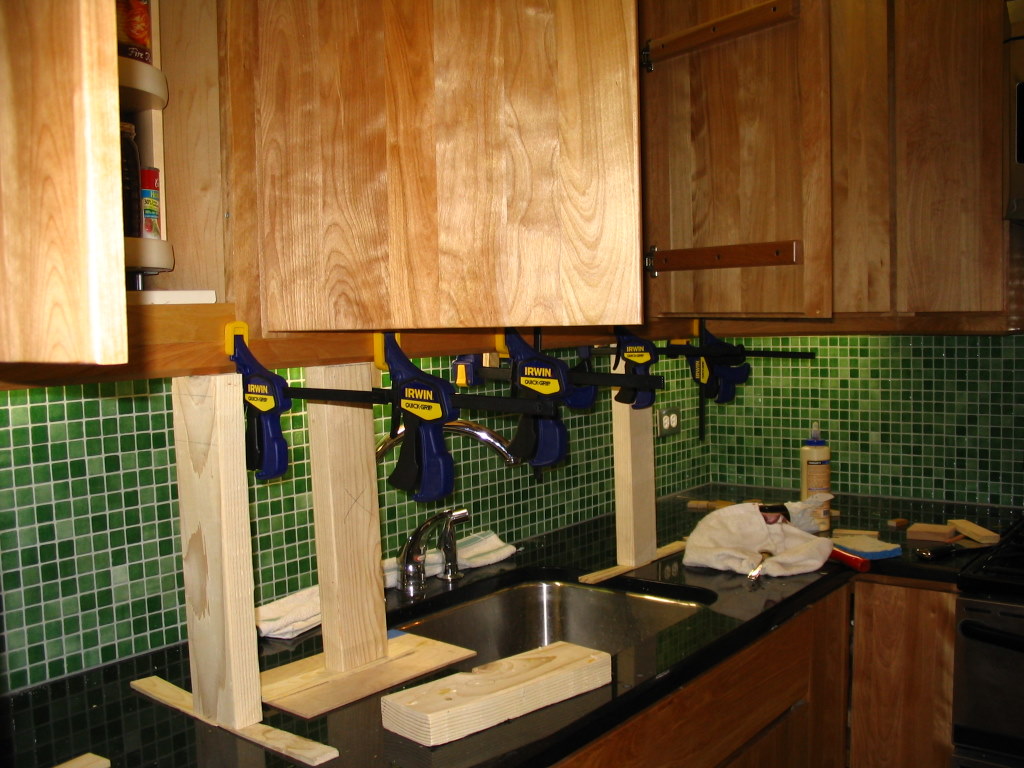
Left Side of Stove
Left this to set for
about 6 hours. Removed the clamps, etc. Same result. Glue people lie! Again, I reset and wait 24
hours. Success.
Over Sink
The
run over the sink is the longest and most visible. It was also the last
piece so I had some idea what I was doing by this time. I managed to
leave everything alone for a full 30 hours. Success again.
For
those that care about technical details, I went totally old school and
used miter box and saw from Home Depot to make the cuts (45 and 22.5
degrees).