The
floor's done. The ceiling's done. Now it's time for the walls.
Installing wall and base cabinets can be as technically challenging as
the tile; except that almost nothing's permanent.
The cabinets have to be level and plumb, otherwise doors won't stay open (or will open spontaneously), drawers won't open properly and water will pool in the sink on one side or the other. If either the base or wall cabinets are off level the tile on the backsplash will require weird cuts and these will visible to they eye.
I started by finding the high point on the floor. My floor is off by 3/4ths of an inch over an 8 foot run, which is a lot for such a small space. Then again, the beams holding everything up are almost 100 years old. As expected, the part near the load bearing walls was higher than toward the middle of the building.
Once the high point is established I measured up the height of the base cabinets, usually 34.5 inches. Then the height of the countertop (3 cm), the height of the backsplash (usually 18 inches) and lastly the height of the wall cabinets (39 inches in my case). I then drew a level line all around the room.
I'm not usually a fan of trendy gadgets, but one device I can't recommend highly enough is a self-leveling laser level. One that can be stuck to the wall is even better. The level shot a clean line all around the room and made setting the cabinets much easier than having a pencil line on the wall. Too low and the light doesn't hit the cabinet. Too high and it's below the top of the cabinet.
Another problem is keeping the cabinets on the wall while leveling, plumbing and attaching. For this I enlisted the help of my friend Rick. Normally, Rick's rock climbing, but this being the cold season he found time to help me. He also has some experience at this sort of thing from his work with Habitat for Humanity.
Wall Cabinets Over Sink
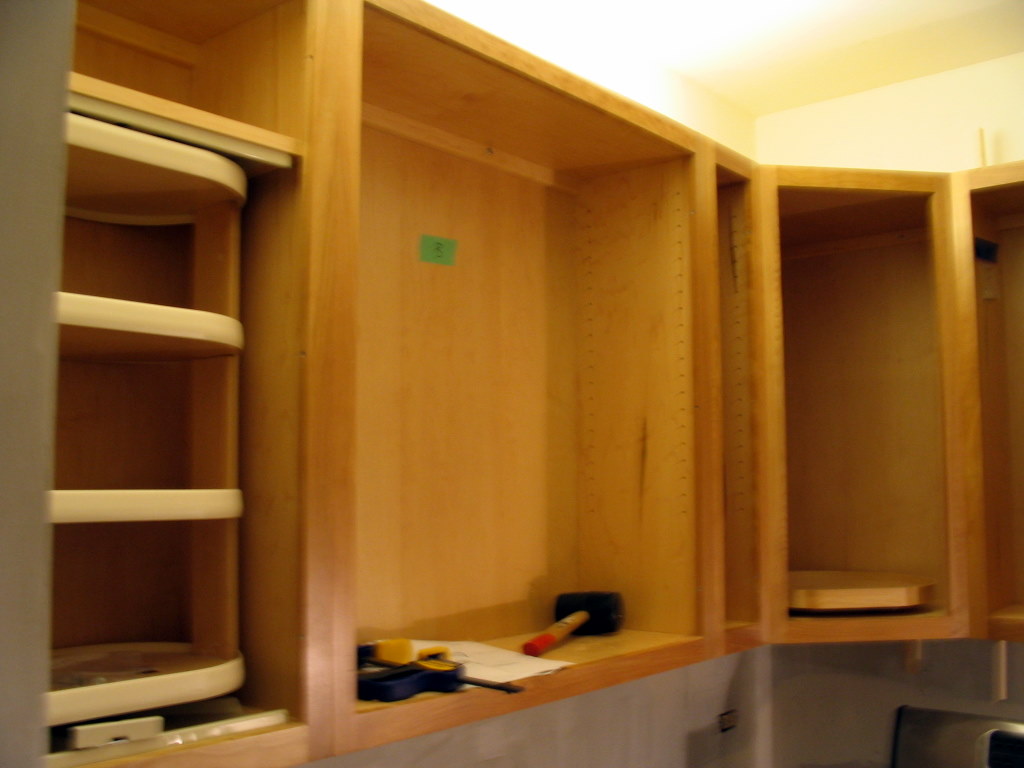
When
installing cabinets always start in a corner and works out along each
wall. Obviously, the placement of that first cabinet is critical. If
it's not level or plumb any errors will be magnified as each cabinet is
added. The corner cabinet above (right side of the picture) took us
over 3 hours to get right. From there the other cabinets went fairly
well.

View Looking in from Pass-thru
You
can't see it here, but the large cabinet on the extreme right of the
picture almost didn't fit. The designer at Home Depot, who was a bit
inexperienced, only left me 1/4 inch tolerance on the run over the
stove. That was quickly eaten up shimming the aforementioned corner
cabinet. I actually ran out to the HD, rented a belt sander and ground
down the frame between the problem cabinet and it's neighbor. The
result is that it fits so tightly to the adjoining wall that I look
like an amazing carpenter!!

Rick in His Milieu
I
forgot to get a picture of Rick helping me with the cabinet install --
by the way, the only part of this whole thing I didn't do alone -- but
here he is doing one of the things he does best.